Recipe of Ultimate Pitta bread
Pitta bread.
Hello everybody, it is me, Dave, welcome to my recipe page. Today, I will show you a way to make a special dish, pitta bread. One of my favorites food recipes. This time, I'm gonna make it a bit unique. This is gonna smell and look delicious.
Pitta bread is one of the most favored of recent trending meals on earth. It's enjoyed by millions every day. It's simple, it is quick, it tastes delicious. They're nice and they look wonderful. Pitta bread is something which I have loved my entire life.
To begin with this particular recipe, we have to first prepare a few ingredients. You can cook pitta bread using 7 ingredients and 7 steps. Here is how you cook that.
The ingredients needed to make Pitta bread:
- {Prepare 150 gram of semolina.
- {Make ready 300 gram of plain flour.
- {Take 2 tablespoon of oil.
- {Take 2 tablespoon of sugar.
- {Make ready 1 sachet of yeast.
- {Get 375 ml of water approximately.
- {Prepare 1/2 teaspoon of salt.
Instructions to make Pitta bread:
- In a wide bottom plate add flour, semolina, yeast, oil, salt and sugar. Mix well. Add water and make a soft dough. Dust some flour and knead for couple of minutes. Grease the dough and cover. Let it rest for and hour..
- Knead the dough and make equal size balls. Roll them out using semolina to dust and cover and let them rest for 45 minutes..
- .
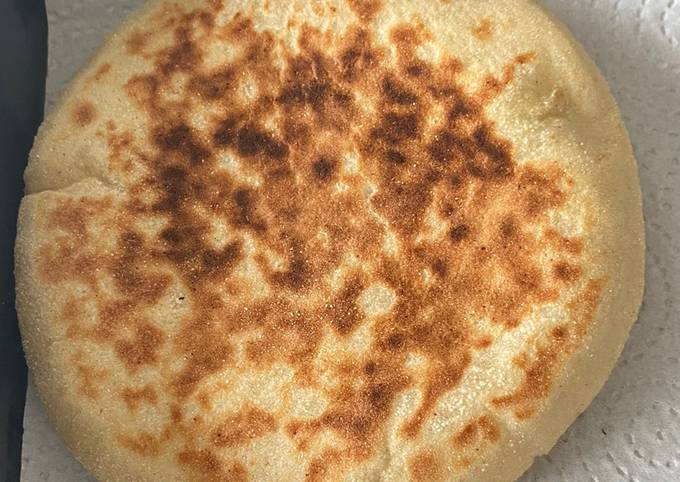
- Heat a pan on medium heat. Place one pitta and once you see bubble appearing flip it over. Repeat with other side and flip. Press it with a ladle and it will puff up. Once cooked remove and repeat for the rest of the pitta bread..
- .
- .
- .
So that is going to wrap it up with this special food pitta bread recipe. Thank you very much for your time. I am sure that you will make this at home. There is gonna be interesting food at home recipes coming up. Don't forget to save this page on your browser, and share it to your loved ones, friends and colleague. Thank you for reading. Go on get cooking!


